Communication Flow Designer
In this context, communication flow designer is a visual canvas that works and looks like a flowchart which allows you to configure the flow of messages on WhatsApp (using keywords, messages, and decisions) between the enterprise and customers.
You can now make WhatsApp journeys within a matter of seconds by using our drag-and-drop flow designer and now communicate with users on WhatsApp.
Generally, it requires more time and effort to create a communication flow by using complicated programming language. But it can now be designed and initiated effortlessly using Twixor EnCaps Journey Builder.
After creating the keywords, click the Flows tab to design the communication workflow.
Create a Flow
To begin with, create a flow using these steps:
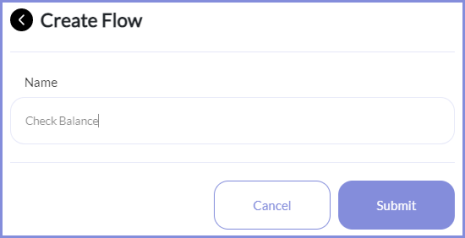
1. To create a new communication flow for your WhatsApp journey, click Create Flows button.
2. Enter a Name related to the flow and click Submit.
Add the Variables
Before you begin designing the communication flow and using them in messaging nodes, you would first need to add variables.
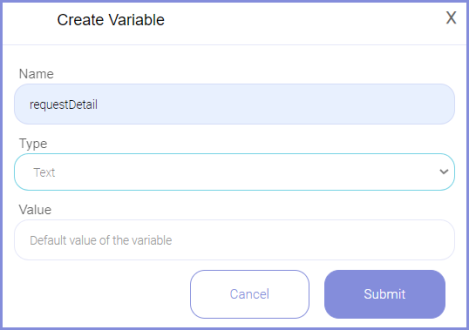
1. To add a variable, Click Add option under Variable which is available to the right of the flow designer.
2. Give a Name for the variable.
3. Select the type of the variable from the drop-down list (Text, Number, Boolean, Media, Location, Order, Object, Array).
Text is a string of characters, number is a numerical value, boolean is a true/false value, media refers to audio or visual content, location specifies a geographic position, order determines the sequence of elements, object is a collection of properties, and array is an ordered list of values.
4. Then enter the default value for the variable, which is optional.
5. Finally, click Submit to add a variable.
6. In our example, let’s create two variables namely requestDetail and mobileNumber of type text.
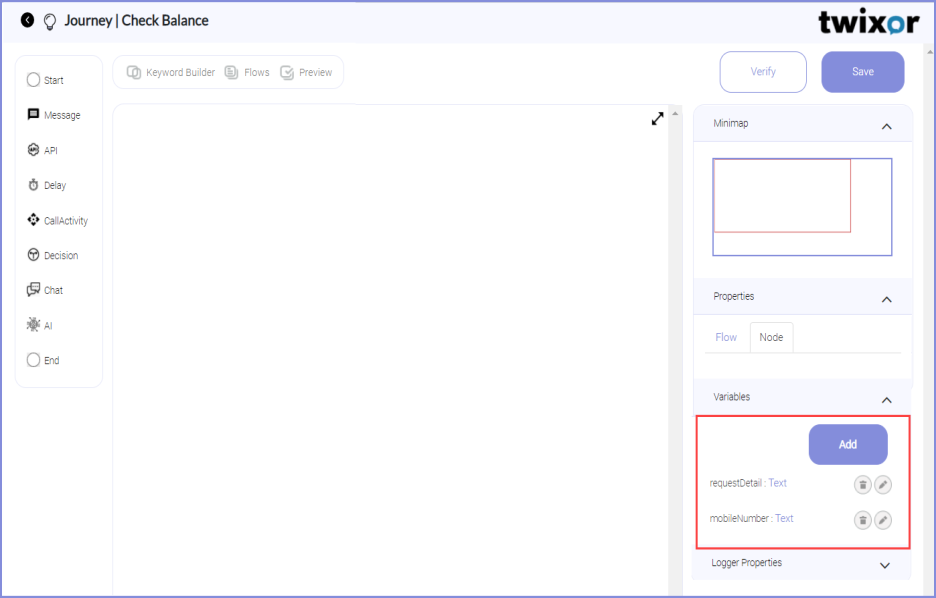
Minimap
Minimap located on the right pane of the communication flow designer gives a tiny snapshot of the entire communication flow.
Properties
You can define the Flow and Node properties here.
- Click Flow to change a name and give a brief description of the WorkFlow. You can also give a timeout period and timeout message for the entire workflow here.
- Enter a name for the Node by selecting the node and clicking the Node option.
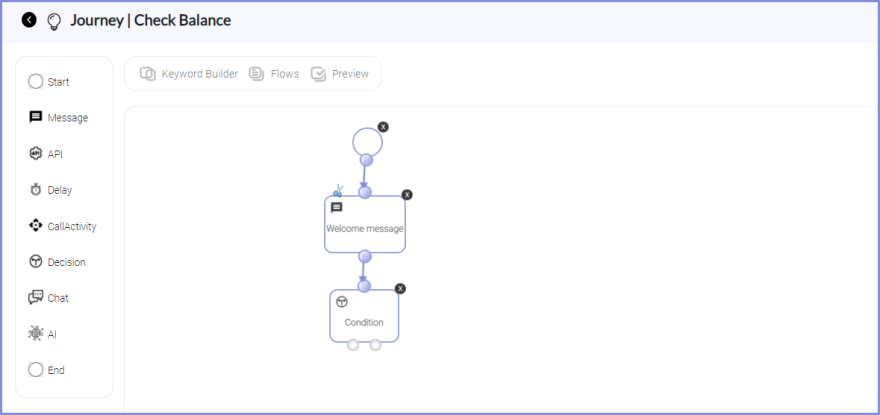
Design the Flow
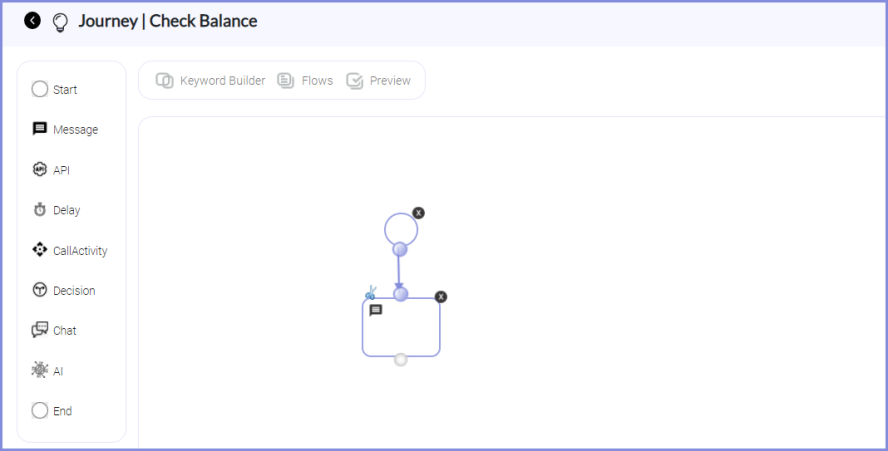
Now, let us start to design flow for the Check Account Balance Journey.
Step 1: To initiate the flow, drag and drop the start node from the palette.
Step 2: Drag and drop a message node  and click
  to create an outgoing message.
You can share the image/ audio/ document/ location to the customers in WhatsApp to offer a more engaging experience to your customers.
Pursue the steps below to send the Text/Image/Video/Audio/Document/Location to the customers.
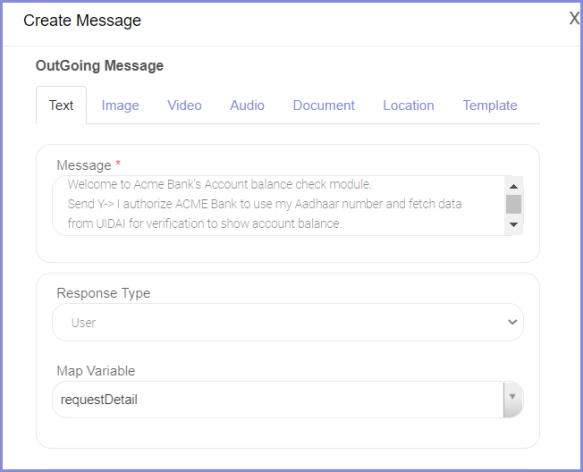
Step 2a: Create a plain text message
- Click the Text tab and enter the plain text message.
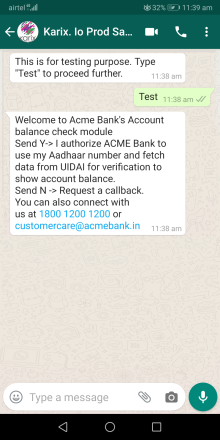
In our example, we've given the text message to welcome the customer as:
Welcome to Acme Bank's Account balance check module.
Send Y-> I authorize ACME Bank to use my Aadhaar number and fetch data from UIDAI for verification to show account balance.
Send N -> Request a callback. You can also connect with us at 1800 1200 1200 or customercare@acmebank.in
- Click Save and publish this journey.
After publishing the WhatsApp journey by following the steps in Publish the WhatsApp Journey guide, the message will be displayed as shown below:
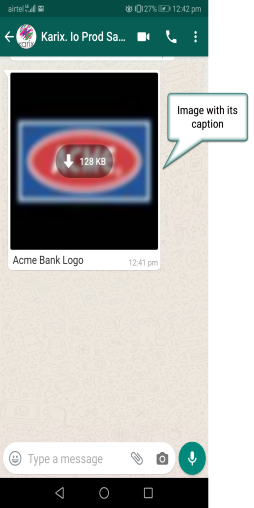
Step 2b: Embed an image in the message
- Select Image tab and enter the image source URL to fetch the image from the web.
- Give a caption for the image and click Save.

After publishing the WhatsApp journey, the journey output will look like:
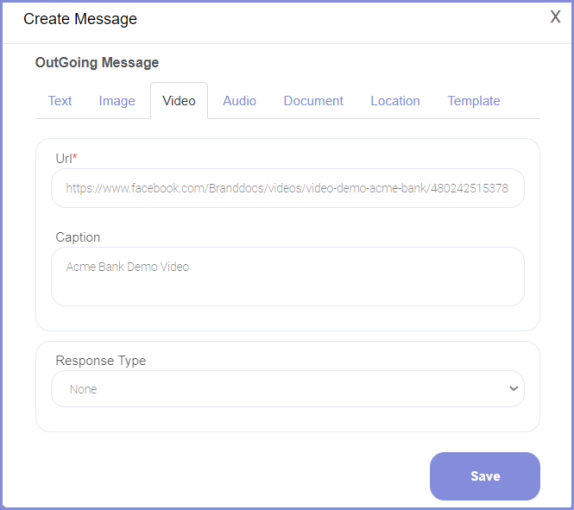
Step 2c: Embed a video in the message
- Select Video tab and enter the video source URL to fetch the video from the web.
- Give a caption for the video and click Save.
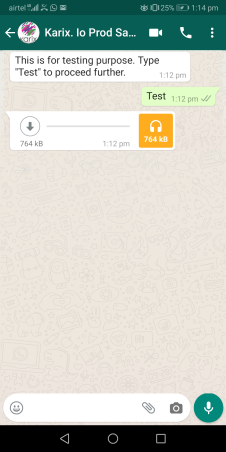
Step 2d: Send an audio file
- Click Audio tab and enter the source URL for the audio file.
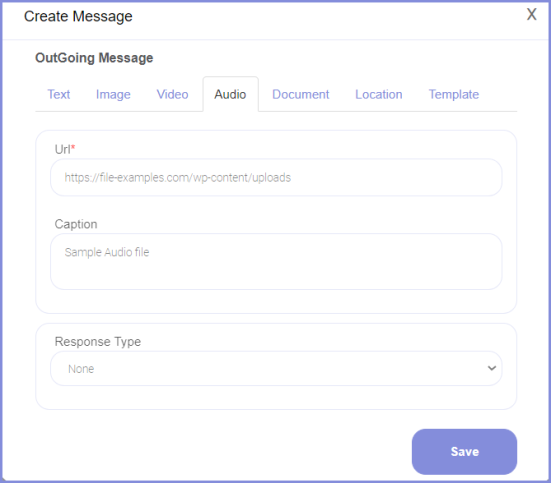
- Enter a caption/title to the audio and hit Save.
If this journey is published, the audio file can be viewed and downloaded by the customer as shown below.
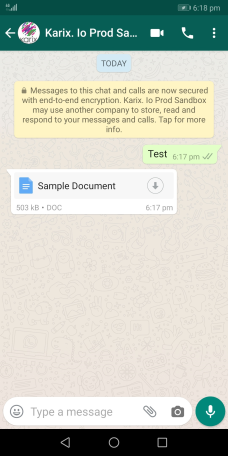
Step 2e: Send a document
- Click Document tab and enter the source URL for the document.
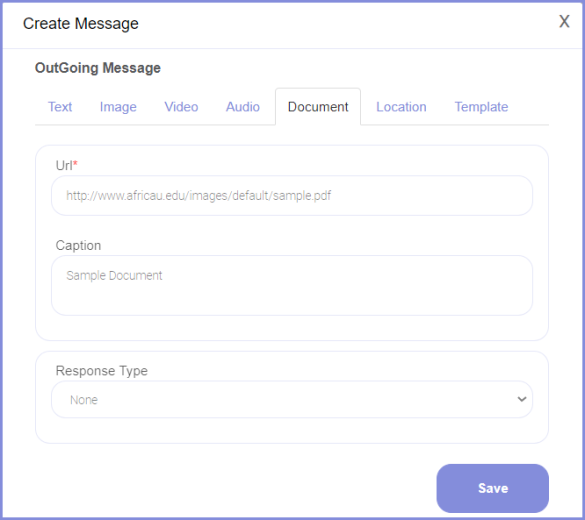
- Enter a caption/title to the document and click Save.
Step 2f: Share a location using Google Maps
- Click the Location tab and enter the source URL for the document.
- Enter the latitude and longitude details of the location.
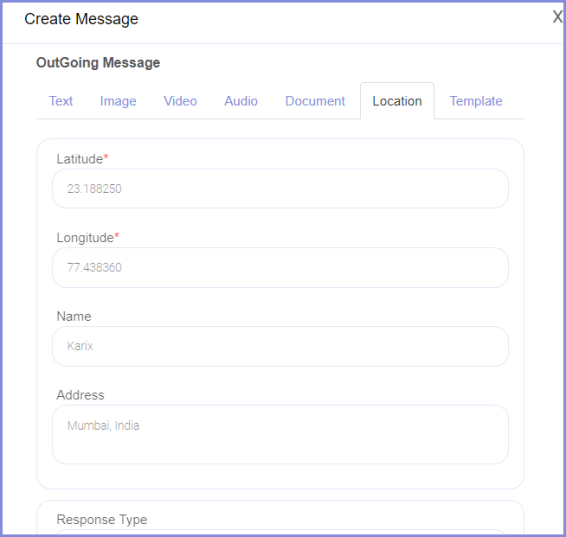
- Type the name and address of the location to be shared.
After publishing the journey with the location message, the output will look like:

Step 2g: Send an Interactive Messages
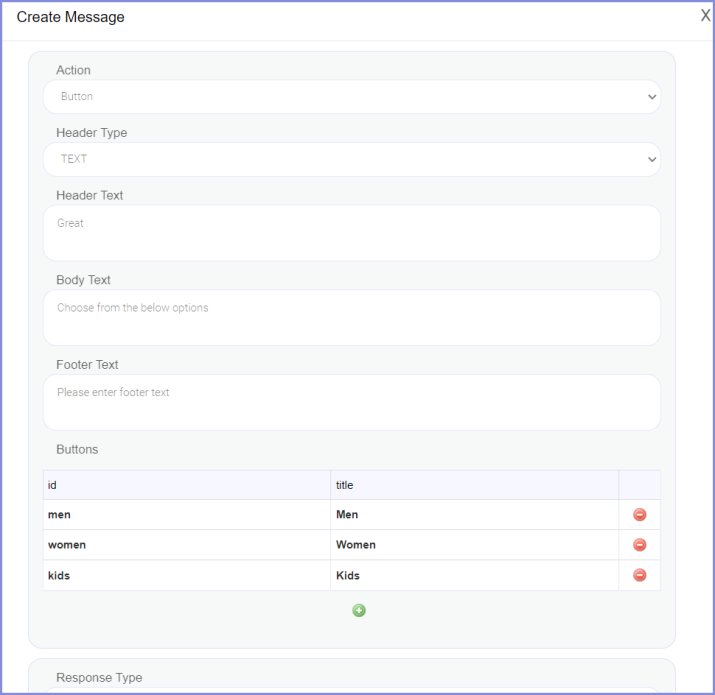
For Button:
- Select the Action type as Button
- Choose the Header file type from the drop down.
- Add the title in header text to use as a header.
- Enter the body and footer text for the message to be displayed.
- Add the Button Id and title. In our example, let’s create three buttons namely Men, Women and Kids.
- Click Save button to add the button.
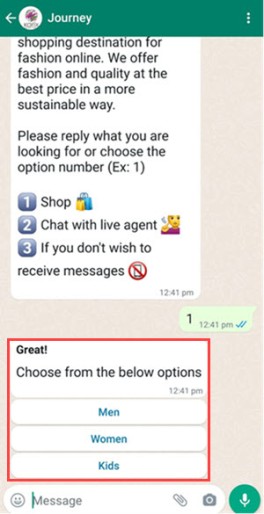
After publishing the journey with the interactive message with button type, the output will look like:
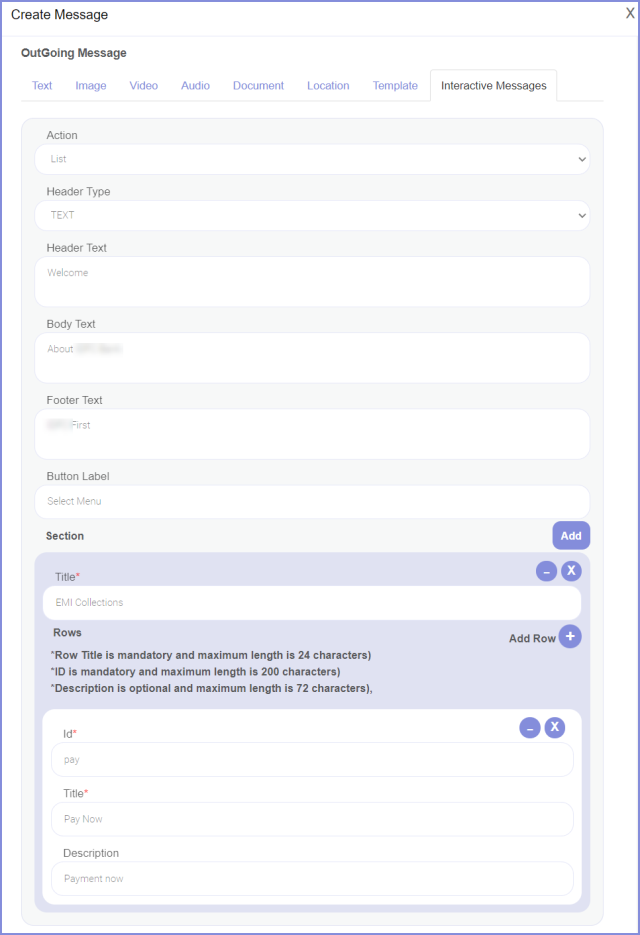
For List:
- Select the Action type as List
- By default, the Header file type will be selected as Text.
- Add the title in header text to use as a header.
- Enter the body and footer text for the message to be displayed.
- Add the label for the button. In our example, let’s create a button namely Shop Here.
- Click Add button to add the sections under the button.
- Lets create the first section title as Apparels. Click
 icon to add the number of list items under apparels like Mens, Womens and Kids.
 - Click Save button.
After publishing the journey with the interactive message with list type, the output will look like:

Step 3: Select the Response Type.
User - Choose this option to get the response from the user. If you select this type, you'll be asked to map the associated variable. In this example, map the requestDetail variable.
Info! While choosing the response type as User, we have two types of variables called Primary and Secondary. For example, in the message node, when a user requests to upload an image, we map a primary variable to store the uploaded media. However, if the user does not upload any image, we can map a secondary variable to store text instead. This scenario occurs when there is a type mismatch error while trying to map the user's input to the primary variable.
The primary variable is initially designated to store media (in this case, an image), but if the user fails to provide the expected input, such as uploading an image, we can handle this error by mapping a secondary variable to store text instead.
It is important to note that the variable types assigned to both the primary and secondary variables should be unique across them. This ensures that there are no conflicts or inconsistencies in storing and retrieving the data based on the designated variable types.
None - Select this type if none of the response is required for the message.
System - System to obtain the back-end response. Enter the timeout period (in seconds) to wait for the response from the system. And, enter the Timeout error message if the response is timed out.
In our example, select the response type as User since we get Yes(Y) or No(N) input from the user.
Step 4: Then choose the variable that should be mapped with the user response (Y or N). Map the requestDetail variable here.
Step 5: Enter the Type Mismatch error message.
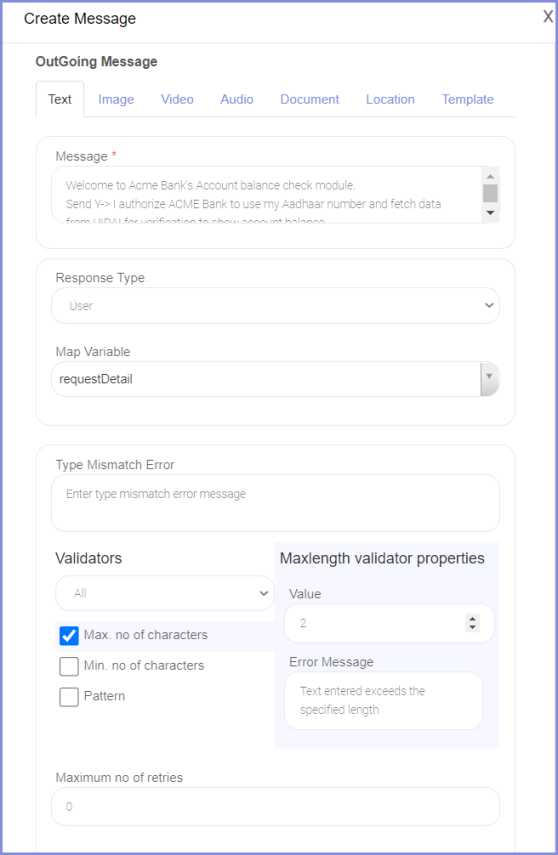
Step 6: Choose the suitable Validator (Max. no of characters, Min. no of characters, or Pattern) that receives the input text from the user, verifies it against the selected validator, and returns an error message if it doesn't meet the given validation criteria.
Step 7: Click the respective validator to configure its properties.
- Max. no of characters - Give the maximum number of characters allowed in the user input in Value. Type the Error Message that should be displayed when the text exceeds the specified number of characters.
- Min. no of characters - Enter the Value to validate the minimum number of characters in the input.
- Pattern - Three types of pattern validation are available here.
Email: Can be used while obtaining the email id from the user.
URL: Used to check the valid URL.
Pattern: This validation is used to check the value of the <input> element against the specified regular expression.
If you select this pattern, you have to provide a validation Expression.
For example, give the expression as [A-Z]{5}[0-9]{4}[A-Z]{1} for verifying the PAN card details.
Step 8: If the user input is invalid, you can ask the user to re-enter the text the maximum number of times given in Maximum no of retries. An error message should be displayed if the retry count exceeds the given limit .
Step 9: Enter the message timeout period in seconds and the timeout message. After creating a message, the flow will look like this:
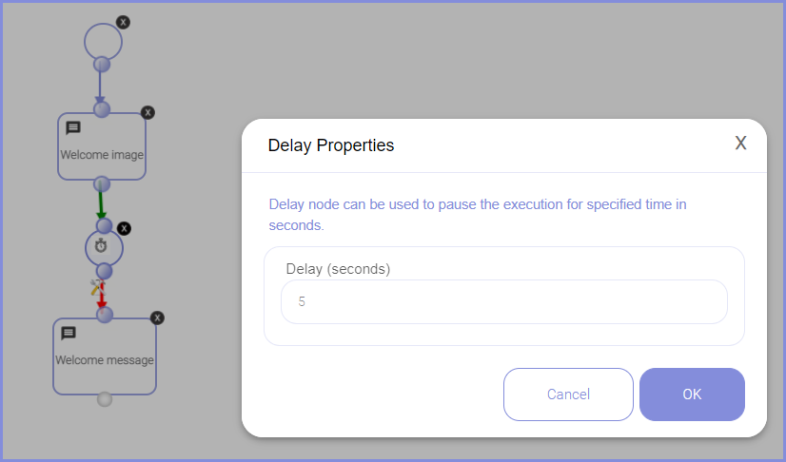
Step 10: Then add a delay node in the communication flow using a Delay node. Drag and drop the delay node and enter the delay (in seconds) and click OK to add a delay between two nodes. Here, the delay node is added between welcome image and welcome message to pause the execution for 5 seconds.
The Delay Node has only one configurable value; the number of seconds for which the next running workflow should be paused. The number of seconds can be anything from 0 (no pause) to 30 seconds. Because a workflow's maximum execution time is limited to 30 seconds, no pauses longer than 30 seconds are permitted.
Step 11: Drag and drop a rich card node and click to edit the properties of the node.
The RICH CARD TEMPLATE dropdown, should list all the created templates for Rich Card.
Choose the relevant Rich Card template required for the flow from the drop down.
Width (in px) & Height (in px) – Optional field. By default, the rich card will take the height and width provided as part of the template creation. If user wants to alter those, then user can use these fields to enter the new Width and height for the Rich card.
Map the created variable and click OK.
Drag and drop a message node and choose the type as IMAGE. In the Url textbox, variable created for Rich card display, using the syntax ${}. Here, ‘richcard’ is the variable created.
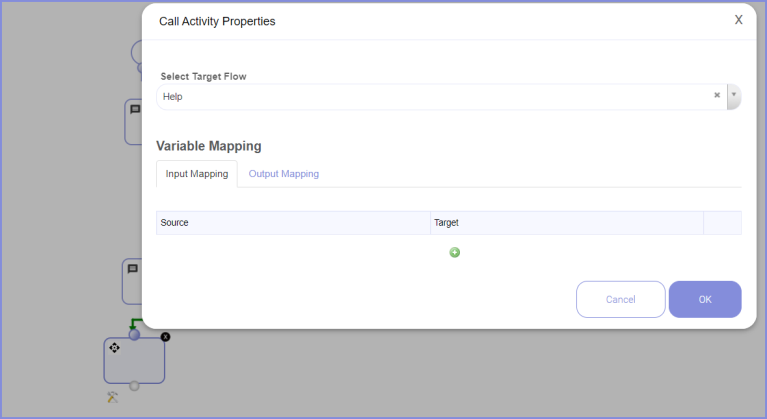
Step 12: Add a another flow in the same journey using a Call Activity node. A Call Activity element calls another process referring to a process definition that is previously defined and is available for reuse but restricted only inside the project. The main execution waits until the called process is completed, and then the original process will continue.
Drag and drop the call activity node and choose the target process under Call Activity Properties.
Map the target process’s variables with the respective variables defined inside call activity under Variable Mapping and click OK.
Step 13: Add the Chat node to pass the client query to the agent.
In message node, enter the message to be displayed and map the variable to get the query like tw_query. Then, Drag and drop the Chat node
Choose the message type as "Twixor" to use the internal live agent of twixor and enter the variable starting with $ and within the curly braces like ${tw_query} in Message to pass the query message to the agent.
Enter the agent/ department name in Service, so that the particular chat will be sent to the corresponding agent.
Or, choose the type as "External" to use the Live agent of any third-party client for picking up the chat, replying to the chat, closing the chat etc., and enter the variable starting with $ and within the curly braces like ${tw_query} in Message to pass the query message to the agent.
In the "Url" field, add the external api URL and headers in the chat properties and click OK.

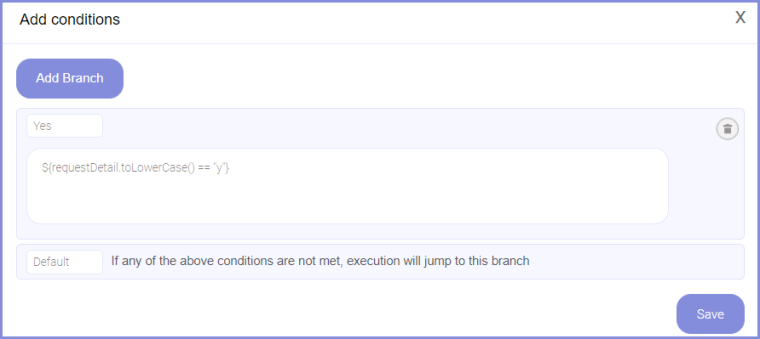
Step 14: Then make a decision in the communication flow using a Decision node  . Drag and drop the decision node and add the required conditions.
- To add a conditional branch statement, click Add Branch.
- Key in a unique branch label for the condition.
- And enter the condition starting with $ and within the curly braces like ${requestDetail.toLowerCase() == "y"}. It is used to tell that the name following the sigil symbol $ is a variable name and not a constant or a keyword.
Info! The label can be used to track the condition in the flow
Info! If any of the above conditions are not met, execution will jump to this branch
Look at the flow after placing the decision node.
After the decision node, keep a message node to get the mobile number from the customer to find out the Account linked with that mobile number.

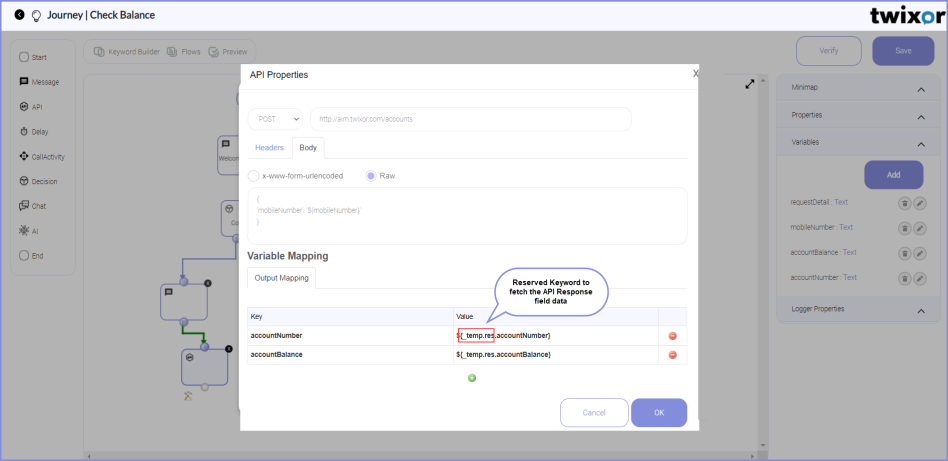
Step 15: You can also consume the third-party Rest API or in this conversational builder using API node . Let's use the rest API node here to call the Account API for fetching the Account Balance of the customer if he enters the Yes keyword.
- Drag and Drop the API Node.
- Then configure the API properties using the steps illustrated in the API Node guide. For calling the REST APIs within your communication flow, refer Consume Rest APIs topic.
- Add a variable to fetch the API response field. Here a variable called accountBalance is added to obtain the API response value. Note that the reserved keyword _temp.res must be used before the API response field name.
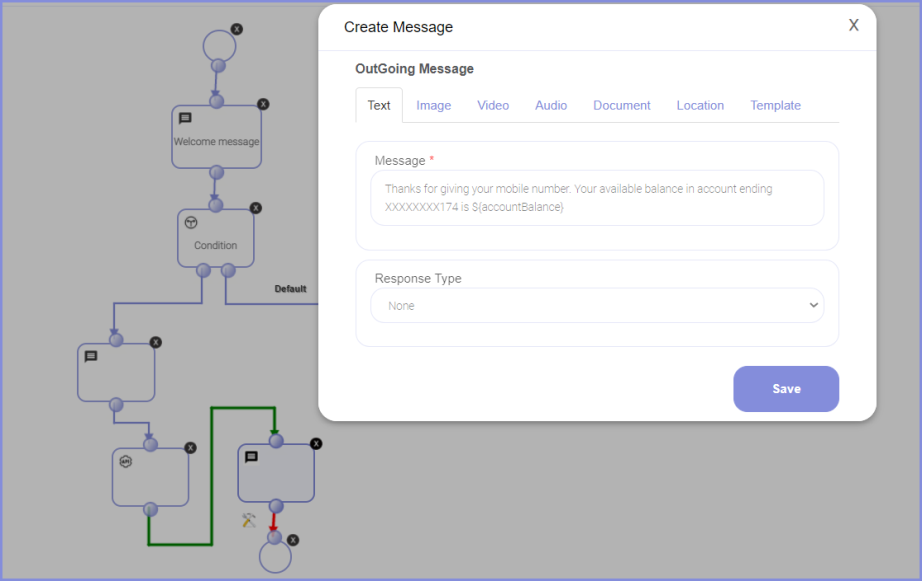
- Then place a message node under Call Account API t$o display the Account Balance that is fetched from the API response.
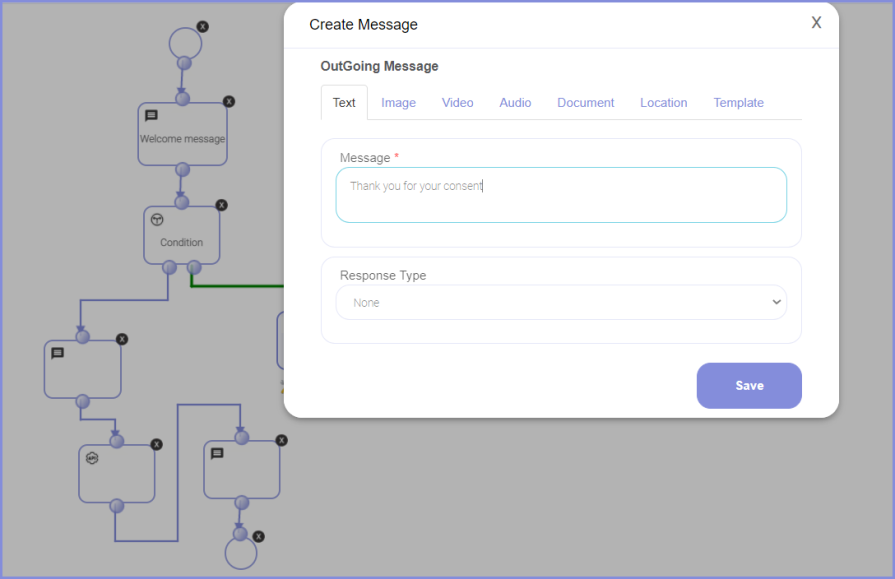
- Add another node to display a Thank You message when the user enters No keyword(the flow will jump to this Default branch).
Step 16: Then finally add the end node to terminate the process.
Step 17: The top menu of the designer page contains three options:

Verify: To test the workflow for any errors.
Go Back: For navigating to the previous page.
Save: To save the communication workflow.
Append Rich Card in Twixor Journey